How to Grow Potatoes in Smart Pots
When potato planting time arrives, don’t turn over the soil — fill up a Smart Pot instead.
You should grow potatoes in Smart Pots. Here is why:
Planting potatoes in fabric planter bags makes growing potatoes super simple. Not only are the spuds easy to plant, when the growing season ends, they’re also a snap to harvest.
There are many great reasons to grow potatoes in Smart Pots.
- A large number of potatoes can be grown in a relatively small space.
- The high volume of soil held in a Smart Pot gives potatoes plenty of room for growth and requires less watering than other containers with a smaller soil volume.
- Smart Pots are inexpensive and can be used for many years.
- It’s easy for gardeners with small yards to move lightweight fabric planter bags around to maximize sunlight exposure.
- The soft-sided fabric of Smart Pots keeps the soil aerated and well-drained, helping to prevent water-logged soils that can lead to potato rot.
- There’s no need to build raised beds or till up a garden. You can grow potatoes just about anywhere with Smart Pots.
10 Potato planting tips
- When planting potatoes in Smart Pots, first consider how many potatoes you’d like to grow. Each pound of planted seed potatoes yields between five and eight pounds of mature spuds. During good growing seasons, you may get up to ten pounds.
- Next, determine which size Smart Pot is needed. To reduce watering needs and provide enough room for good tuber production, chose the largest sized container you can. A pound of seed potatoes will produce a good crop of tubers in either a single 30 or 45 gallon Smart Pot, or two smaller 20 to 25 gallon fabric planter pots. For smaller harvests, plant a quarter- or half-pound of seed potatoes in a 10 or 20 gallon container respectively.
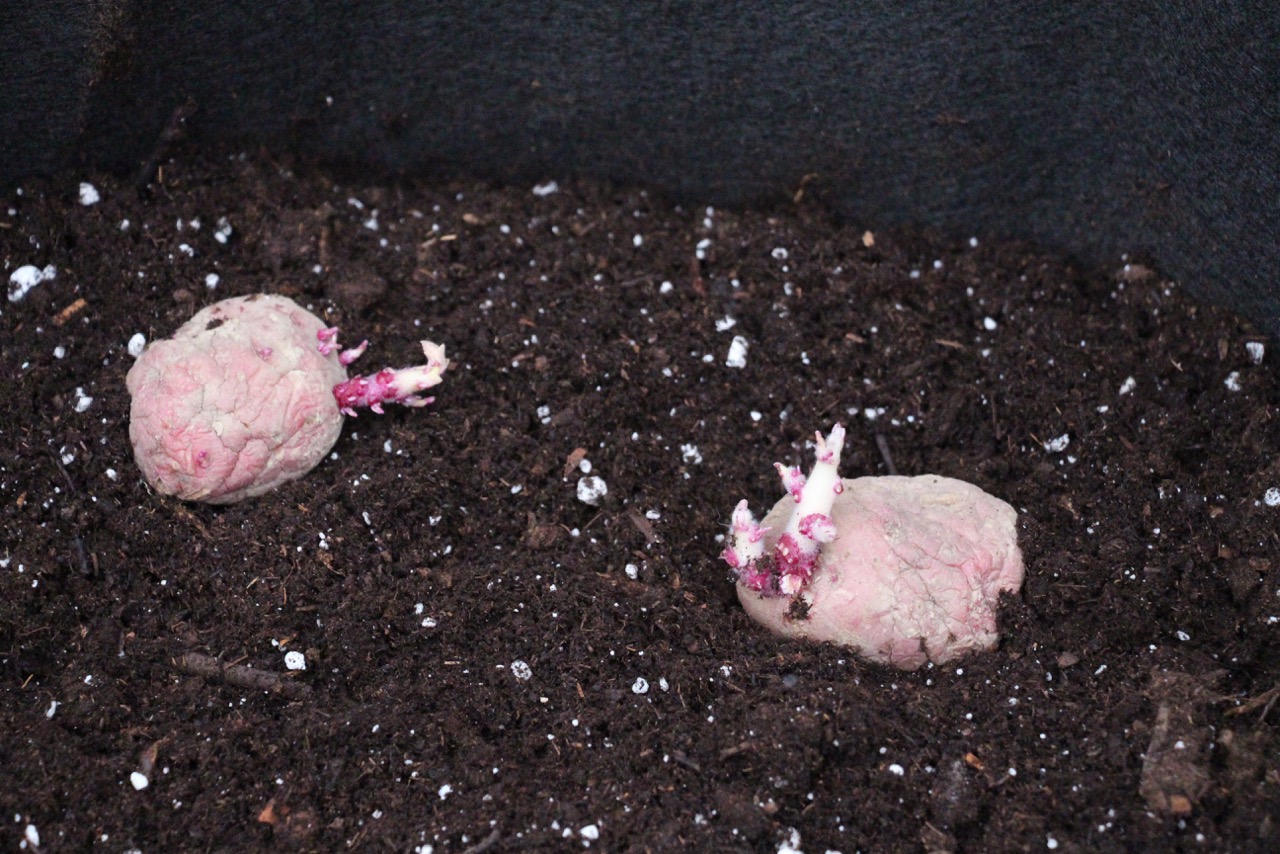
- To prepare seed potatoes for planting, cut the larger seed potatoes into one- to two-inch chunks, each containing at least one “eye” (or growing point). Leave any smaller seed potatoes intact. Let the cut potatoes sit on the kitchen counter overnight; this encourages the formation of callus tissue and prevents the tubers from rotting in the ground before they sprout.
- Fill the Smart Pot with four to six inches of high-quality potting soil mixed with a few shovels full of finished compost. The added compost improves water retention, and adds nutrients and beneficial soil microbes to the container.
- Next, nestle the seed potato pieces into the potting soil, spacing them approximately six to eight inches apart. Cover them with four to six more inches of the potting soil/compost blend and water the container well.
- As the plants grow, add more potting mix/compost to the Smart Pot, a few inches at a time, burying the growing potato shoots deeper and deeper until the pot is completely filled and the plants are growing out the top.
- Allow the plants to grow, keeping them regularly watered. Never let the container completely dry out or the plants will become stressed, resulting in reduced yields.
- Eventually, the plants come into flower. A few weeks later, the shoots start to slowly turn yellow and die back.
- Once the potato plants are completely brown, stop watering and ignore the pot for two weeks. The potatoes are curing during this time; this curing process increases their shelf life and thickens the skins.
- When the two weeks have passed, it’s time to harvest the potatoes. To do so, simply dig through the container with your hands, sifting through the soil to find the tubers. Or, tip the Smart Pot onto its side and dump out the contents. As you search through the spilled soil, the potatoes are revealed.
Planting potatoes in Smart Pots is both practical and productive. In fact, potato planting has never been easier!


Just harvested 5 Smart Pots of potatoes and am disappointed in a small harvest. Most of the potatoes are the size of an apricot, with only 4 being a bit larger.
Any suggestions on increasing my yield?? Much thanks, Diane Hood
Otterhoods@charter.net