How to Take Cuttings of Your Favorite Houseplants in 5 Easy Steps
Propagating plants is a great way to take your love of gardening to the next level, and starting plants from seed isn’t the only way to do it. Though many vegetables, annuals, and perennials are easily propagated from seed, this is not the case with houseplants. To make more houseplants, vegetative propagation is often the way to go.
Instead of a new plant growing out of a seed, vegetative propagation takes a portion of a mother plant (called a propagule) and uses it to make a whole new plant. The propagule can be a piece of the mother plant’s stem, leaf, root, or even just a few cells if the plant is propagated in a tissue culture lab. Though this all may sound a bit intimidating, propagating plants in this manner is simpler than you might think, especially when it comes to houseplants.
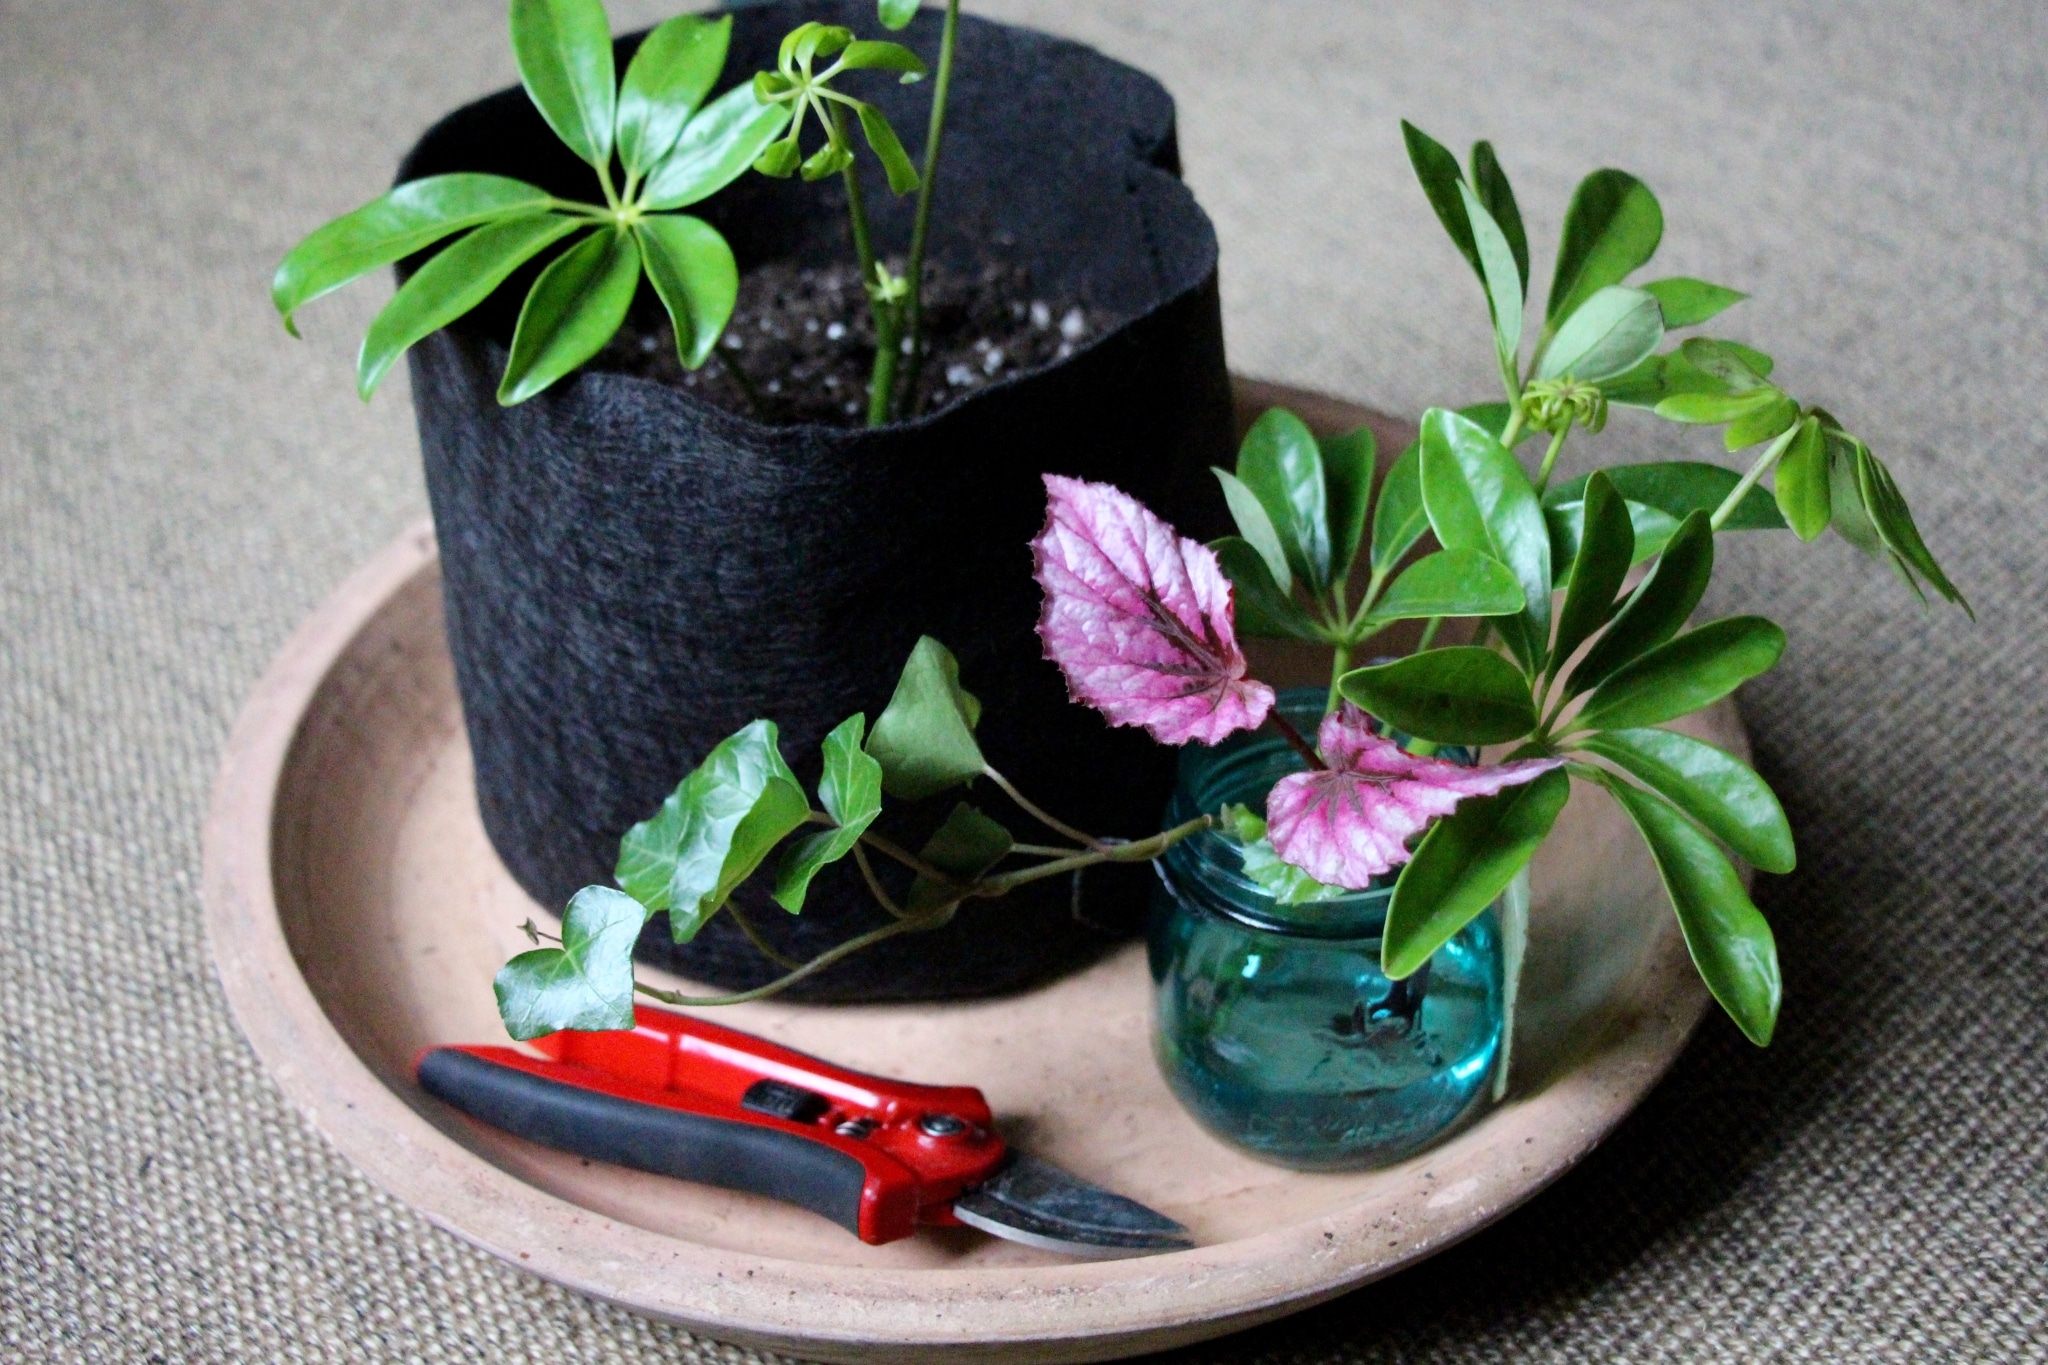
Stem cuttings are perhaps the easiest way to vegetatively propagate plants. As you might guess, the propagule used to make this type of cutting is a portion of the mother plant’s stem, usually a young, tender shoot tip. While it’s true that not all houseplants can be propagated in this way, there are many that can.
Popular houseplants that grow from cuttings:
- Schefflera
- Begonia
- Arrowhead
- Christmas cactus
- Croton
- Gardenia
- Jade plant
- Wandering Jew
- Hoya
- Pothos
- Philodendron
- Kalanchoe
- Geranium
- Dracaena
- Ivy
- Streptocarpella
- Chinese evergreen
Five simple steps to propagating plants via stem cuttings.
- Gather your materials.
Before trying your hand at propagating houseplants via stem cuttings, it’s important to gather the correct materials. Here are the items you’ll need:
- A healthy mother plant. Be sure the plant you plan to propagate is disease- and pest-free, and is healthy enough to have some of its foliage removed.
- A clean, sharp pair of pruning shears.
- A bottle of rooting hormone (available at your local garden center).
- A bag of peat- or coir-based, sterile potting mix.
- A new, one-gallon Smart Pot.
- A clear plastic bag large enough to enclose the entire Smart Pot. Repurposed dry cleaning bags work great for this task.
- Make the cut.
Locate a few healthy stem tips on the mother plant. Use your pruning shears to snip off three or four of these stem tips just below a leaf node (the place on the stem where the leaf emerges). Each cutting should be three to five inches long and contain one or more leaves. Once you have all your houseplant cuttings, cut off all but the top-most two leaves from each one.
- Apply rooting hormone.
Rooting hormone comes as either a powder, a liquid, or a gel. Regardless of which type you have, insert the bottom inch of the freshly cut end of the cutting into the hormone. Tap off the excess.
- Insert the cutting into sterile potting mix.
Fill the Smart Pot with potting mix, tapping the bottom of the pot lightly on a tabletop to ensure no air pockets remain. Stick the hormone-coated cutting into the potting mix, cut end down, until only the top two inches of the cutting remain above the soil line. Repeat with the other cuttings. You can place three or four cuttings in a single gallon-sized Smart Pot, just be sure the cuttings do not touch. Disease can readily spread from one cutting to another if they are in contact with each other.
- Water, cover, and wait.
Once the cuttings are in place, water them in well, using a gentle shower rather than a sharp stream. Place the entire Smart Pot inside the clear, plastic bag, and secure it with a twist tie a few inches above the plant tops. Use a stake or wire hoop to prop up the plastic bag, if necessary; it should not touch the cuttings. Place the pot of cuttings on a bright windowsill or under grow lights. Do not subject the cuttings to intense, direct sunlight as you’ll risk burning them. The plastic bag keeps the humidity high until the cuttings form their own roots, but the container may occasionally need to be watered. Check the pot every few days and add water as necessary. In four to six weeks, remove the bag and continue to regularly water the cuttings. The rooted cuttings can be lifted out of the pot a few weeks later and moved to separate containers.
As you can see, propagating plants is a very rewarding task. It’s fun to see which houseplant cuttings perform the best. And sharing new plants with others just might be the most fun of all!
