Grow Nutritious and Delicious Edible Microgreens
Increasingly seen in posh restaurants and urban windowsills, edible microgreens are highly nutritious, packed with flavor, and easy to grow. So what are they, exactly? Microgreens are edible plants grown until they produce their first adult leaves and then harvested for consumption.
Microgreens are cheap to produce and eliminate the risk of food-borne illness associated with sprouts. They take anywhere from eight to 21 days from planting to harvest. So if instant gratification is your thing, a micro garden is right up your alley. Here’s an easy, step-by-step guide to help you grow your own greens.
Step 1: Select your seeds. A vast array of plant varieties grow well in a micro garden setting. Some popular varieties include broccoli, cauliflower, cabbage, carrot, chard, chia, sunflower, buckwheat, beet, Chinese celery, coriander, garden cress, onion/chives, mustards, kohlrabi, Orach, parsley, peas, radish, sorrel, and spinach. As you’re selecting seeds, bear in mind that you’ll be growing each variety in its own container. So there’s no need to buy every seed packet on the rack.
Step 2: Presoak seeds to help them germinate quickly. Place them in warm water a few hours before planting or give them an overnight soak.
Step 3: Prepare your soil. If you’re an avid home gardener, you probably have your own, top-secret soil recipe. If not, don’t worry. A high-quality organic potting mix will do the trick. You can amend your mix with nutrients if you want. But it’s widely agreed that most nutrients in microgreens come directly from the seed itself. So don’t spend a fortune on soil amendments. Mix soil and water in a large bin or trash can and squeeze out excess moisture before placing it in your container garden or tray. If you use a tray, be sure to line the bottom with a moist paper towel to prevent spillage. For trays, you’ll want to use .5 to 1.5 inches of soil. In a container, leave 1 to 2 inches of unfilled space at the top.
Step 4: Spread your seeds. If you’re seeding fast-growing types of microgreens (those with harvest times around one week) spread your seeds densely across the surface of the soil. For slower-growing types of microgreens (with two- to three-week harvest times), spread your seeds more thinly.
Step 5: Press and cover. Use your fingers to lightly press your microgreen seeds into the soil, then cover them with a moist, unbleached paper towel. This blocks out direct light, mimicking the subterranean conditions typically experienced by germinating seeds. Wrap the top of your container in plastic wrap to retain moisture. Be sure to poke ample holes in your plastic wrap to allow for airflow.
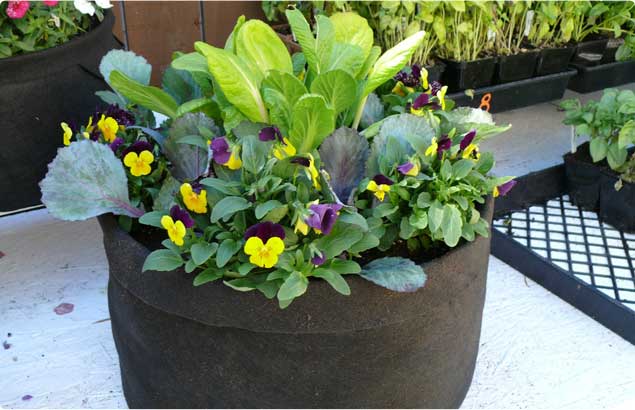
Step 6: Water. Check your micro garden at least once a day and water when needed. Remember, you want a moist but not wet environment for your crop. A spray bottle is great for keeping the top layer of soil from drying out. And if you’re using a fabric pot, you’re in luck. Fabric pots provide optimal drainage for microgreens. Simply place your pot on a plate or saucer to collect the water as it drains from your container.
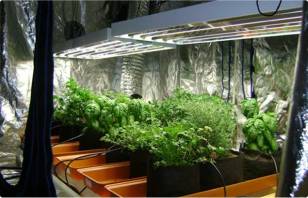
Step 7: Remove towel and place in indirect light. After two or three days, remove the paper towel. Your microgreens are now ready for some indirect light. But remember, these guys are fragile. Avoid hot, intense sunlight by placing your microgreens in a window sill or under fluorescent lights. Continue watering daily until your crops are ready for harvest.
Step 8: Harvest and enjoy! When your microgreens are one to three inches tall, they’re ready for your plate. Snip them with a pair of sharp scissors and use them in salads, soups, stir fries, or nutritional shakes. You can use them to spice up a sandwiches or add a splash of flavor to your favorite meat dish.
Microgreens are a burgeoning trend that’s poised to go mainstream. With minimal effort, you can grow, harvest and enjoy these delicacies year-round. Sure, they may be small. But microgreens are huge on flavor and nutrition. So what are you waiting for? Try your hand at micro gardening today!


